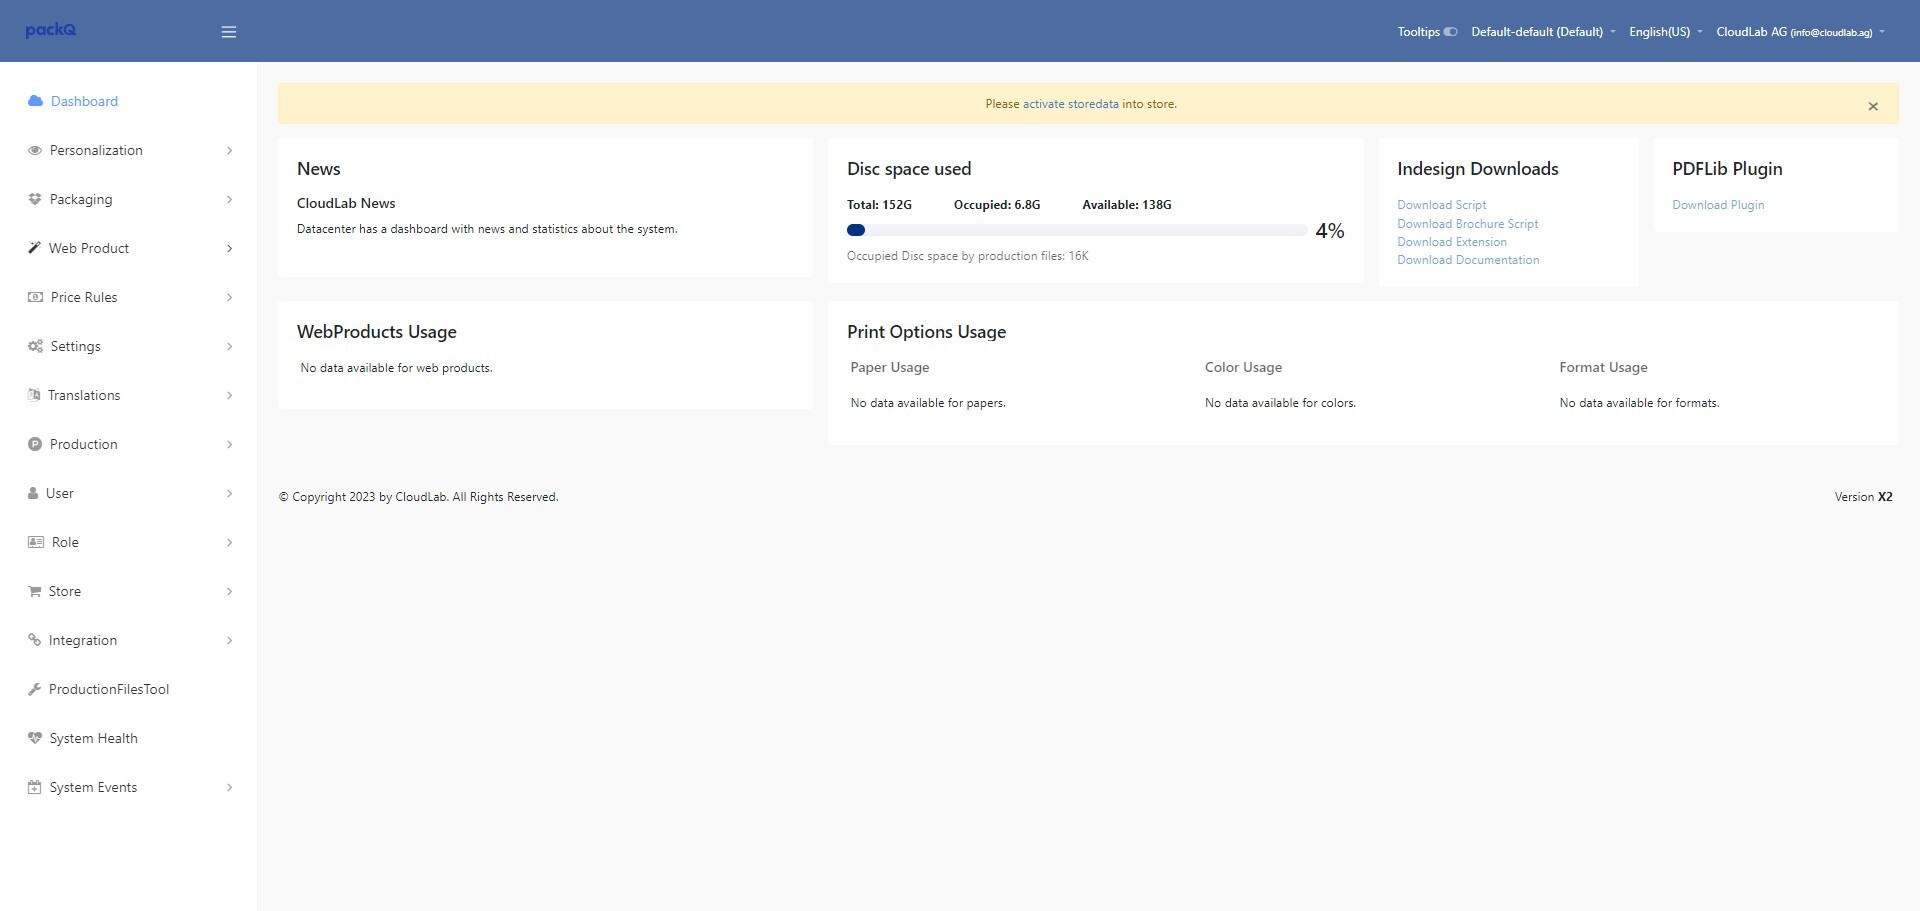
The article explains how to create new Page Options in the PIM system, including setting names, codes, values, and attributes, and updating existing products by reconfiguring and activating the store data.
How to create new Page Options
This topic will describe how to create new Page Options.
Important! Page options are the foundation of all products within a system. This means that a new page option will affect all existing and new products. Because of this we recommend to get in contact with our support or with your project manager before you add new ones to your system.
If you would like to delete page options please contact our support or your project manager.
If you want to create a new page option click on Web Product first.

Click "Page Options"
-jpeg-Jun-23-2025-09-53-18-8941-AM.jpeg?width=1920&height=911&name=ascreenshot%20(1)-jpeg-Jun-23-2025-09-53-18-8941-AM.jpeg)
Click "Create"
-jpeg-Jun-23-2025-09-53-22-4431-AM.jpeg?width=1920&height=911&name=ascreenshot%20(2)-jpeg-Jun-23-2025-09-53-22-4431-AM.jpeg)
Give the page Option a name and a code.
In this example we create a new page option that will handle the production method and that will have 3 Values:
None, Digital Printing and Offset Printing
-jpeg-Jun-23-2025-09-53-26-4964-AM.jpeg?width=1920&height=911&name=ascreenshot%20(3)-jpeg-Jun-23-2025-09-53-26-4964-AM.jpeg)
After this select if this page option should belong to the page part or to the product.
Page Part: The page options will be available in all mappings and the product part (multiple selection per product possible).
Product: The page options will be available in the web product (only one time per product available).
-jpeg-Jun-23-2025-09-53-29-3122-AM.jpeg?width=1920&height=911&name=ascreenshot%20(4)-jpeg-Jun-23-2025-09-53-29-3122-AM.jpeg)
Select the type of the page option.
Single: Only one value can be selected per product/product part. Supported for page options the belong to the page part and to the product.
Multiple: Multiple values can be selected per product. Only supported to "Part of" "Product".
-jpeg-Jun-23-2025-09-53-38-4650-AM.jpeg?width=1920&height=911&name=ascreenshot%20(5)-jpeg-Jun-23-2025-09-53-38-4650-AM.jpeg)
Save the page option.
-jpeg-Jun-23-2025-09-53-41-3742-AM.jpeg?width=1920&height=911&name=ascreenshot%20(6)-jpeg-Jun-23-2025-09-53-41-3742-AM.jpeg)
Once you saved it you can edit it to add attributes and values.
-jpeg-Jun-23-2025-09-53-43-6370-AM.jpeg?width=1920&height=911&name=ascreenshot%20(7)-jpeg-Jun-23-2025-09-53-43-6370-AM.jpeg)
New page options have no attributes by default. So if you would like to use it for calculation, you have to add an attribute first.
If you would like to have attributes that affect the production time, weight, dimension, etc. there will be development work needed. In those cases please contact your project manager.
In our example we will add an attribute to calculate a setup price per printing method.
Click "Create".
-jpeg-3.jpeg?width=1920&height=911&name=ascreenshot%20(8)-jpeg-3.jpeg)
Add a name for your attribute. We will use "Setup Price". For the code we will use "production_method_setup_price".
-jpeg-3.jpeg?width=1920&height=911&name=ascreenshot%20(9)-jpeg-3.jpeg)
Select the type of the new attribute. We will use "Input" because we would like to add a price later.
-jpeg-3.jpeg?width=1920&height=911&name=ascreenshot%20(10)-jpeg-3.jpeg)
You can add a default value and select if this attribute is a mandatory field.
-jpeg-3.jpeg?width=1920&height=911&name=ascreenshot%20(11)-jpeg-3.jpeg)
Important!
Attributes affect all new and all existing values. If you want to make an attribute mandatory you should add a default value.
Click save to finish the process.
-jpeg-3.jpeg?width=1920&height=911&name=ascreenshot%20(12)-jpeg-3.jpeg)
Next we will check the values. By default there will be a value added by default. This value gets the name of the page option and "None" behind it. The same is for the code.
Click "Edit" if you would like to change the name from e.g. "Printing Method None" to "None".
-jpeg-3.jpeg?width=1920&height=911&name=ascreenshot%20(13)-jpeg-3.jpeg)
Click the "Name" field.
-jpeg-3.jpeg?width=1920&height=911&name=ascreenshot%20(14)-jpeg-3.jpeg)
Change the name and click this "Save".
-jpeg-3.jpeg?width=1920&height=911&name=ascreenshot%20(15)-jpeg-3.jpeg)
Last we have to add new values beside the already existing one. Click "Create".
-jpeg-2.jpeg?width=1920&height=911&name=ascreenshot%20(16)-jpeg-2.jpeg)
Add name and code for your new values.
-jpeg-2.jpeg?width=1920&height=911&name=ascreenshot%20(17)-jpeg-2.jpeg)
Add a position to sort your values for frontend.
-jpeg-2.jpeg?width=1920&height=911&name=ascreenshot%20(18)-jpeg-2.jpeg)
Last you see your new created attributes. Here you can now add the values needed. In our example we will add a setup price.
-jpeg-2.jpeg?width=1920&height=911&name=ascreenshot%20(19)-jpeg-2.jpeg)
Save the page option value.
-jpeg-2.jpeg?width=1920&height=911&name=ascreenshot%20(20)-jpeg-2.jpeg)
Repeat these steps for all values you would like to use.
-jpeg-1.jpeg?width=1920&height=911&name=ascreenshot%20(21)-jpeg-1.jpeg)
Tip!
You can also use import/export. This is done via .csv file and you can use it to add multiple values at once.
Important! The .csv files are semicolon separated.
After you have saved the page option click "Reconfigure" .
Important! This is only needed for new created page options and not if you just added a value or changed something.
-jpeg-1.jpeg?width=1920&height=911&name=ascreenshot%20(22)-jpeg-1.jpeg)
Click "activate storedata"
-jpeg.jpeg?width=1920&height=911&name=ascreenshot%20(23)-jpeg.jpeg)
The page option is ready and all mappings, product parts and web products are updated. You should make a test by opening a product part/webproduct/etc and check if the new page option is available and a value is preselected. As an example this is shown on a product part.
Click "Product Parts"
-jpeg.jpeg?width=1920&height=911&name=ascreenshot%20(24)-jpeg.jpeg)
Click "Product Part"
-jpeg.jpeg?width=1920&height=911&name=ascreenshot%20(25)-jpeg.jpeg)
Edit a random product part.
-jpeg.jpeg?width=1920&height=911&name=ascreenshot%20(26)-jpeg.jpeg)
Check on the bottom of the list the new created page option and the values.
-jpeg.jpeg?width=1920&height=911&name=ascreenshot%20(27)-jpeg.jpeg)
